


You know that feeling when your child comes rushing home from the playground, feet dirty but eyes sparkling with newfound energy?
It's exactly that freedom we want to preserve, and barefoot shoes for children provide the natural movement that allows little feet to breathe and strengthen as they explore the world.
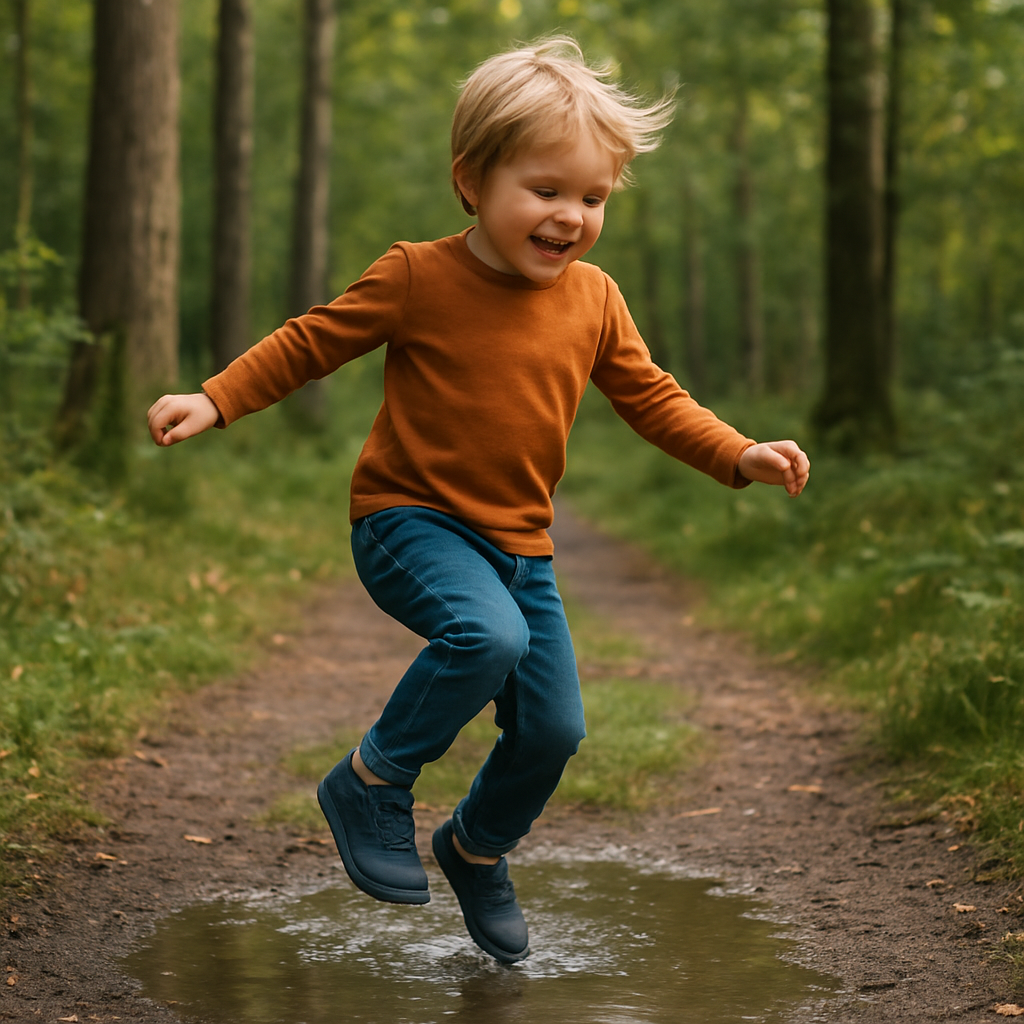
Imagine your little one being able to jump over puddles in the rain without feeling sticky or cold – thanks to a waterproof, yet breathable construction, their feet stay both dry and healthy.
A concrete example is Be Lenka Play – barefoot shoes for playing children , which combine soft nubuck leather with Velcro for easy on and off, while being naturally water-repellent.
Research shows that children who are allowed to walk barefoot or in minimalist shoes develop stronger foot muscles and better balance, which can reduce the risk of future knee and back problems.
But you might be thinking: “Will my children’s feet get cold in the Swedish autumn?” Here’s how you can solve that – choose a model with a thin, but warming lining and let them have a few hours indoors to warm up before you head out.
Step by step: 1) Measure your child's foot in the afternoon when it is at its largest. 2) Try shoes with a wide toe box so the toes can spread naturally. 3) Take a short walk indoors, feel if the sole provides good grip without pressing against the arch of the foot.
If you're an active parent who also likes to keep moving, check out Datefit for workout inspiration and community with other families who prioritize health.
So, what are you waiting for? Let your child experience nature's own training gym with barefoot shoes that support both play and development – and you'll have the peace of mind that their feet are getting the best start.
Give them the freedom to run, jump and grow – every step counts.
tl;dr
Children's barefoot shoes allow little feet to move freely, strengthen muscles and protect against moisture with breathable material.
Choose a model with wide toe space and thin warming lining, so your child can play outside all day without worry, giving you peace of mind and ensuring healthy foot development continues all year round.
Step 1: Understand the benefits of barefoot shoes for children
You've probably seen those little feet that run like lightning across the playground, yet still seem a little stiff at times. It's a sign that they may be missing the natural mobility that barefoot shoes provide.
So, why are barefoot shoes actually good for children? Well, when the foot can feel the ground directly, all the small muscles that would otherwise be at rest in a tight shoe are exercised.
Research shows that children who are allowed to walk barefoot or in minimalist shoes develop stronger foot muscles and better balance, which in turn can reduce the risk of knee and back problems later in life.
Stronger muscles and better balance
Barefoot shoes allow the toes to spread naturally, so every little muscle in the foot gets a chance to work. It's like giving them a little gym with every step. As the muscles get stronger, so does their balance – children can jump, run and climb without hesitation.
Have you ever seen a child trip on a hard surface in a traditional shoe? It's often because the sole is too stiff, preventing the foot from feeling the ground. A flexible, thin sole in a barefoot shoe provides exactly that feedback.
According to an article on Promenix, it's best for children's feet to keep them as bare as possible, but when the outdoor environment requires protection, a barefoot shoe is a smart compromise.
What should you look for in a barefoot shoe?
- Wide toe box – so your toes can spread naturally.
- Flexible rubber sole with good grip, but without a high heel or raised arch.
- Breathable, natural material on the inside (leather or suede) to allow sweat to wick away.
- Light weight – heavy shoes make the child tired faster and can lead to an unnatural posture.
Tip: When you bend the toe of the shoe, it should follow the child's natural bending motion without feeling any resistance. A simple test is to hold the front edge of the shoe and press down on it – it should give way.
Want a concrete example? Check out the Be Lenka Scoot – it has an extra wide toe box, a flexible sole and breathable nubuck leather that is perfect for playing on both indoor and outdoor surfaces.
Now you may be wondering how to introduce barefoot shoes into your everyday life without your children becoming skeptical. It's easier than you think.
Start with short walks indoors, let your child get used to the feeling of walking without the usual cushioning. After a few minutes, you can take a walk in the garden or on a gravel path – let your child feel the difference for themselves.
It may feel a little strange at first, but just like with all new habits, it quickly becomes part of the game.
In short, it's about giving kids' feet the freedom they deserve. When they're allowed to move naturally, they build stronger bones, better coordination, and a more robust body. So next time you're looking for new shoes – think barefoot shoes.
Step 2: Choose the right size and fit
We all know how frustrating it can be when your child complains about their shoes after just a few days. So what's the secret? It's mostly about choosing the right size to start with – and giving your toes some breathing room.
Measure correctly
First of all, take out a piece of paper and a pencil when your child's foot is at its largest during the day, usually in the afternoon. Draw the outline of the foot, measure the length from heel to longest extended toe, and then add the extra margin that experts recommend.
According to Promenix, you should have about 10mm of extra space in front of the toes for the youngest, and then increase to 15mm (about 1.5cm) as the child becomes more stable. This is about 15% of the total length of the foot – just as an adult would not have 4.5cm of extra space in their shoes.
Extra space for growing feet
Children's feet grow at lightning speed: 20 mm per year between one and two years, then about 15 mm between two and three years, and about 10 mm until adolescence. This means that a shoe that feels perfect today may be cramped in two months.
Here's a trick: when trying on a barefoot shoe, make sure you can slide a finger between your toes and the front edge of the shoe. If you can only fit a thin piece of paper, it's too small. If you have more than a centimeter, it may be too loose - children may have trouble keeping it in place without bending their toes.
Test the fit at home
Before you head out into the garden, let your child walk around in the shoe on the floor. Feel how the sole bends when your child puts weight on it. A proper barefoot shoe should bend with the foot, not against it.
Ask yourself this question: “Does the foot feel like it has its own little place of freedom, or is it stuck in a little box?” If you notice that your child is often jerking their foot or pinching their toes, it’s time to go up a size.
Winter boots with warmth – an example
When the cold weather hits, you might be tempted to go for a thicker model, but you still want to keep the barefoot feel. Junior Ice barefoot shoes combine a slightly thicker sole with a warming lining, without losing the flexible, natural movement. They have a wide toe box that allows your toes to spread, and Velcro straps that provide a secure yet adjustable fit.
Here's how to try them on: have your child stand on a mat with both feet in the shoes, then push down on the front of the shoe. If the sole gives way and the toes still have a little extra room, you're on the right track. If it feels stiff or if your feet are already pushing against the edge, go up a size or look for a model with an even wider toe box.
Remember, winter boots often have slightly thicker uppers, but they should still follow the natural flexion of the foot. It's the difference between a shoe that feels like an extension of your foot and one that feels like a lump you're dragging around.
In short: measure, add the right amount, test at home and choose a model that maintains natural movement even when the temperature drops. Once you've found the perfect fit, your child will be running, jumping and exploring without even noticing they're wearing shoes. And you'll get that reassuring feeling of knowing their feet are both free and protected.
Step 3: Compare materials and soles
Now that you have a handle on the fit, the next step is to understand what's hidden in the material and sole. It's actually a bit like choosing the right clothes for an outing – the wrong combination and you'll get cold or your legs will hurt.
Here we go through what to look for, step by step, so you can compare easily and feel confident with your choice of barefoot shoes for children .
Step 1 – Feel the material on the upper
A good barefoot shoe for children should be both breathable and durable. Natural leather or nubuck allows sweat to evaporate, but if you live in a humid area, a water-repellent membrane is a lifesaver. Check if the shoe has a ReimaTec membrane – it is a proven protection that repels water without making the shoe stiff (widetoes describes this).
If you prefer a quick-drying upper for your summer water adventures, consider a model with stretchy synthetic material that follows the shape of your foot without pinching. It's perfect for paddling or playing at the beach.
Step 2 – Zero-drop or slightly raised?
Zero-drop means that the heel and forefoot are at the same level. This promotes a natural gait and strengthens muscles, just like walking barefoot on grass. But sometimes you want a minimal rise for extra cushioning on hard surfaces. Test by standing on a book and pressing down on your heel – it should follow your foot without resistance.
Ergilo has developed an ultra-light model with a thin, flexible sole that provides good grip on both dry and wet surfaces (ergilo product page). It's also quick-drying, so you don't have to wait when the kids come out of the water.
Step 3 – Grip and Flex Degree
For playing on gravel, forest paths or slippery winter roads, a pattern with deep grooves is essential. But remember that the deeper the grooves, the stiffer the sole can feel. Look for a sole that flexes with your foot but still has a good pattern to avoid slipping.
A good test is to walk on a matte surface with your toes pointing downwards – if the sole follows the movement of your foot, it feels right.
Step 4 – Weight and thickness
Children want to run, jump and climb. A heavy shoe quickly becomes a burden. Opt for a model that weighs less than 300g per shoe, but still has a protective upper. This way you get a shoe that feels like an extension of the foot without becoming a lump.
Quick comparison table
| Factor | Examples of materials | What you should consider |
|---|---|---|
| Upper part | Nubuck, water-repellent ReimaTec membrane | Breathable, protects against rain but retains flexibility |
| Sole | Zero-drop, thin flex rubber | Provides natural movement, good grip on both dry and wet surfaces |
| Weight | Ultralight (<300g) | Avoids fatigue, allows the child to run freely |
Now you have a framework to use when comparing. Here's how to test it in practice: let your child walk around in the shoe on a mat, then press down on the front part and feel if the sole gives way. Is it too stiff or does it feel like a soft hug? If you're unsure, swap out a shoe for a model with more flexibility and repeat the test.
Remember that every child's foot is unique - what feels perfect for your son may be a little too soft for your daughter. By going through these steps, you will get a more nuanced picture and can choose a shoe that both protects and allows the foot to develop naturally.
Step 4: Test shoes in real-life situations
Now that you've found a model that feels right at home, it's time to take it out on real adventures. It's easy to think that a shoe that flexes on carpet can also handle mud puddles or slippery gravel, but our little feet have their own gut feeling that we can help them listen to.
Step 1 – short walk in the garden
Start with a simple walk around the house. Let your child walk on both grass and gravel, feel if the sole gives way when the foot puts weight on it. If you notice that the foot hits the edge or that the child has to lift the leg higher than normal, it is a sign that the sole is too stiff.
A good rule of thumb is that you should be able to press down on the front edge with your finger and still feel a gentle resistance – then the shoe will follow the natural bending movement of the foot.
Step 2 – play on the playground
Then go to a playground with both a sandbox and swings. Let your child jump, run and climb. Here you will see how the shoe's upper handles quick changes of direction and how well it grips on smooth surfaces.
If you want an example of a model that can handle both water and play without getting sticky, take a look at waterproof autumn shoes for children – they combine a water-repellent membrane with the flexible sole you've already tested at home.
Step 3 – explore nature
Take the shoes for a short walk in the woods or on a gravel road. Both cushioning and grip are crucial here. Feel if the child naturally leans their foot forward when the surface is soft, and if the foot stays stable when the surface becomes hard or wet.
For extra control, have the child walk on an inclined surface (e.g. a small hill) and note if the foot rolls naturally without you having to adjust the position of the shoe.
Step 4 – weather test
One of the biggest advantages of barefoot shoes is that they allow your feet to breathe, but you still want them to keep you warm when the weather gets chilly. Try the shoes on after a rainy play session: are they still dry on the inside? Does your child feel their feet getting cold, or has the membrane done its job?
If you notice that your child is pulling on their shoes or their feet are getting damp, consider a model with a thinner lining or extra moisture-wicking layer.
Checklist for your test
- Walk on at least two different surfaces (grass, gravel, sand, wet surface).
- Observe the child's walking pattern – is the step natural or is it jerky?
- Feel for pressure points after 10-15 minutes of play.
- Test in both dry and humid weather.
- Evaluate how quickly your feet become warm or cold.
After each test, gather feedback from your child. Ask, “Did you feel comfortable?” or “Was there any part that felt uncomfortable?” Your child often knows best what feels right, and their answers give you the final piece of the puzzle.
Remember, no shoe is perfect for every situation. It’s about finding the model that can handle most of your daily adventures without compromising the natural movement of the foot. Once you’ve gone through these four steps, you can feel confident that you’ve made an informed choice – and your child can continue to run, jump and explore without limitations.
Step 5: Maintenance and care of barefoot shoes
You've just found the perfect model for your child - now it's time to think about how to keep them fresh and functional all season long. A little bit of proper care can make the difference between a shoe that feels new every week and one that starts to smell like an old pair of sneakers in the corner.
Why shoe care is important for barefoot shoes
Barefoot shoes are often made of natural materials like nubuck, suede, and thinner membranes. They breathe well, but they also absorb dirt, water, and sweat more quickly than a heavy leather shoe. If moisture is allowed to build up in the material, it can lead to bad odors and even reduce shock absorption.
According to shoe care products from a specialist store, there are both impregnation sprays and cleaning brushes that are 100% free of PFAS and biodegradable – perfect for environmentally conscious parents.
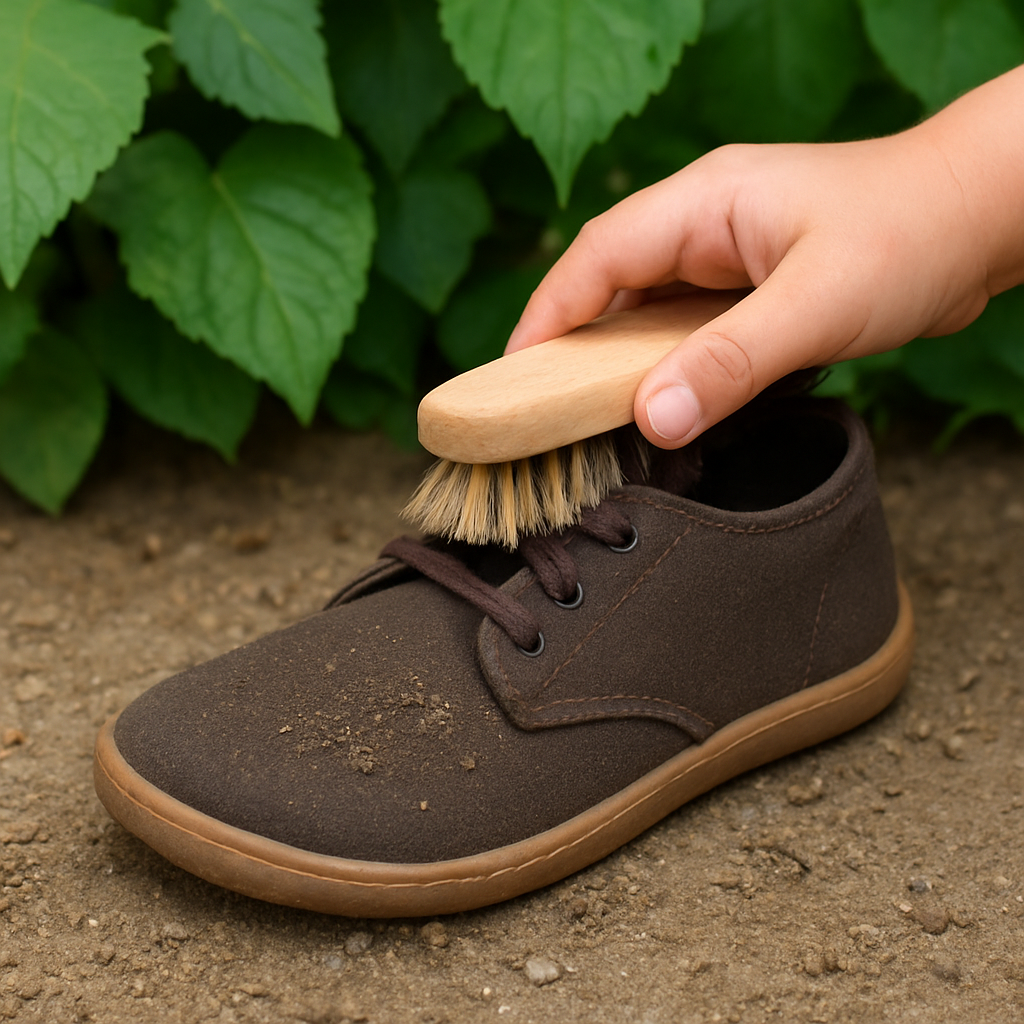
Step by step: daily routine
1. Brush away dirt immediately after play. Use a soft suede brush (such as an Azzezo brush with brass and nylon bristles) to loosen soil and grass without scratching the material. A quick two-to-three-second brushing is usually enough.
2. Let the shoes air out. Place them on a dry towel in a cool place – not in direct sunlight, as this can dry out the leather. If you have an extra day when your child won’t be wearing them, put them in a ventilated shoe cover.
3. Check the inside of the feet. A small spot of moisture on the inside means that sugar has collected. Dry gently with a soft cloth. This reduces the risk of mold.
Weekly deep care
Once a week (or more often during rainy weeks) give your shoes a more thorough treatment.
a) Foam cleaning. A foam spray that is suitable for both suede and nubuck removes stubborn stains without staining the material. Apply a thin layer, leave for two minutes and wipe with a clean sponge.
b) Waterproofing. Once the shoes are dry, spray a water-based waterproofing agent evenly over the entire surface. This creates a protective barrier that repels rain without hindering breathability.
Important: Avoid overspraying – too much can make the sole slippery. A thin mist is all that is needed.
Special cases: Winter boots and waterproof models
Winter boots with a thinner lining can get damp during snow play. After each snow outing, you should dry them with a towel and then let them stand up to air out. If you notice that the surface feels stiff, give it another coat of waterproofing – the extra layer of protection is crucial when the temperature drops below zero.
For waterproof models with membranes, check that the membrane is still breathable. A simple “blow in” test: hold the shoes in a small amount of water, let them stand for a few minutes and feel if moisture collects on the inside. If it does, the membrane may have lost its function and needs a new waterproofing spray.
Shoe care checklist (print and hang in the closet)
- Daily: brush, air, dry inside.
- Weekly: foam cleaning + impregnation.
- Monthly: inspect the sole for wear, replace if necessary.
- After rain/snow: extra drying + impregnation.
By following these simple steps, the shoes will stay like new for longer, and your child can continue running without worrying about bad odors or damp feet.
And you? You get more time to enjoy playtime instead of standing around scrubbing away dirt.
Step 6: Common Mistakes to Avoid
Starting barefoot shoes for children often feels like a little adventure, but it's easy to fall into traps that can make the experience less fun.
Here we go through the most common mistakes and how you can easily avoid them, so that both you and your child get maximum enjoyment from every step.
1. Wrong size – too small or too big
The first mistake is almost always choosing the wrong size. A shoe that fits snugly will dig into the toes and cause the child to stumble, while a model that is too loose will hit the floor with every step. A common scenario is when a five-year-old child is given a shoe where you can only insert a thin piece of paper in front of the toes – then it is too small.
Practical step: measure your child's foot in the afternoon, add 1-1.5 cm extra space, then try with a finger between the tip of the toe and the front. If you can slide a whole finger in without feeling any resistance, you're on the right track.
2. Ignore toe width
A wide toe box is the essence of barefoot shoes. Many parents only focus on the length and miss the point of allowing the toes to spread apart. The result is cramped toes that can lead to hallux valgus at a young age.
Example: Lina bought a pair of "modern" children's shoes with a narrow toe box. After two weeks, her son complained of pain in his big toe and had to switch to a pair with a wider toe box - she immediately noticed the difference.
Checklist: make sure you can see at least a finger's width between the toes when the child stands in the shoe.
3. Excessive impregnation
Yes, we want to keep our feet dry, but too much spray makes the sole slippery. Some parents spray the entire shoe and then forget to let it dry properly. The result is that the child slips on wet grass.
Tip: apply a thin layer with a spray bottle to the outer part, leave the shoes in a ventilated space for at least an hour before letting the child go outside.
4. Using thick insoles or extra cushioning
Barefoot shoes should be thin enough for the foot to feel the ground. Adding extra insoles or thick foam pads will take away the natural feel and can lead to incorrect foot position.
According to Simplybarefoot, one of the most common mistakes is to “make the shoes too soft” – this reduces the muscle activation that is the point of barefoot shoes.
Do this: choose a model that already has a thin, breathable insole and avoid adding your own cushioning plates.
5. Skip the introduction phase
Kids are used to cushioned sneakers. Throwing them straight into full-on runs on asphalt can cause heel and calf pain. We've heard stories of kids having to stop playing because their feet get sore after a day in new barefoot shoes.
Step by step:
- Week 1: short walks on soft surfaces – grass or carpets, max 10-15 min.
- Week 2-3: increase the time to 30 minutes and introduce light gravel.
- Week 4: try short playtimes on the playground swings and slide.
- After 4-6 weeks: the child can go on longer outings without discomfort.
6. Improper storage
Throwing your shoes in a box in a damp corner makes the material stiff and smelly. It's also a common reason why the waterproofing wears off faster.
The right routine: dry your shoes with a towel after each game, leave them upright on a drying rack or newspaper to air out. Avoid direct sunlight, which can dry out the leather.
7. Washing machine and dryer
It may be tempting to throw your shoes in the machine, but the aggressive wash wears out both the upper and the sole. Some models can handle a gentle hand wash, but machine washing is a no-go.
Here's how: fill a tub with lukewarm water, add a gentle soap-free cleaning solution and let the shoes soak for up to five minutes. Brush gently with a soft brush, rinse with clean water and let air dry.
Summary checklist to avoid mistakes
- Check both length and width before purchasing.
- Test the flex by pressing down on the front edge with your finger.
- Impregnate sparingly and let dry thoroughly.
- Avoid extra insoles – let the thin built-in ones be comfortable.
- Introduce gradually, increasing load week by week.
- Store dry, stand up and air after each play.
- Clean by hand, never in a machine.
By keeping these points in mind, you can minimize hassle and maximize joy. So the next time you’re buying or caring for your child’s barefoot shoes, remember that small details often make a big difference – and your child can keep running, jumping and exploring with a smile on their face.
FAQ
How do I know if barefoot shoes are right for my child's age?
The first thing you can feel is how the foot moves when it is without a shoe. If your child is already running around barefoot at home without complaining of pain, there is a good chance they are ready for a minimalist model. But also check that the toes have at least a finger's width of space in the front - so that they can spread naturally. We usually recommend starting with children who are at least 2 years old, but the key is always to listen to your child's own signals.
What type of sole is best suited for playing on both grass and asphalt?
A thin, flexible rubber sole with a good grip pattern is ideal. It should bend with the foot but still have grooves that prevent the child from slipping on wet surfaces. Test by pressing down on the front edge with your finger – if you feel a soft resistance, the sole is right. On asphalt, you want a little more cushioning, so choose a model that has a small but noticeable “cushion” in the midfoot.
Do I need to buy extra insoles for barefoot shoes?
No, most children's barefoot shoes already have a thin, breathable insole that allows the foot to feel the ground. Adding extra cushioning removes the natural feedback and can make the foot weaker in the long run. If you still want extra warmth on cold days, choose a model with a removable, thin lining instead of a thick insole.
How often should I waterproof my barefoot shoes?
A light spray of waterproofing every two to three weeks is sufficient for most Swedish climates. It is more important to let the shoes dry thoroughly after each play session – preferably on a towel and standing up so that air can circulate. Excessive spray can make the sole slippery, so stick to a thin mist and let it dry for at least an hour before letting your child go outside again.
Can my children wear barefoot shoes in winter weather?
Absolutely, but choose a model with a water-repellent membrane and a thin, but warm, lining. Avoid thick leather covers that will make your feet sweaty. After playing in the snow, dry your shoes with a towel and let them air out before placing them in a ventilated storage area. On really cold days, an extra pair of thick socks can be combined with the shoes without losing natural movement.
What do I do if my child gets blisters in his barefoot shoes?
Blisters usually occur when shoes are too tight or the sole is too stiff. First, make sure you have the right size and that your toes have enough room. If blisters have already formed, clean the area with mild soap, let it dry, and apply a small protective plaster. Let your child rest for a couple of days, then try a softer model or shorter playtime to let the foot recover.
conclusion
After everything we've been through, it feels like you already have a whole toolbox for choosing, testing, and caring for barefoot shoes for your child.
Remember that the most important clue is always how the child's foot feels – if they are smiling after a play session and no blisters appear, you are on the right track.
We've seen that a wide toe box, a thin but durable sole, and a breathable upper provide the natural movement that strengthens muscles and improves balance.
When buying, try short walks at home first, then let your feet explore grass, gravel, and maybe a small puddle. If the sole bends with your foot without you noticing resistance, you've found a good model.
Maintenance is as simple as a quick brush after each adventure and a light coat of waterproofing spray every two to three weeks. This way you keep the shoes fresh and your kids can keep running without worrying about moisture or odor.
So, what's the next step? Go to your nearest TJÅKKO retailer, try out a pair of our Be Lenka models and let your children's feet regain the freedom they deserve.
When you see them jumping, climbing and returning home with happy steps, you know you've made a smart choice for both health and play.